Please scroll
Reading time: 3 minutes
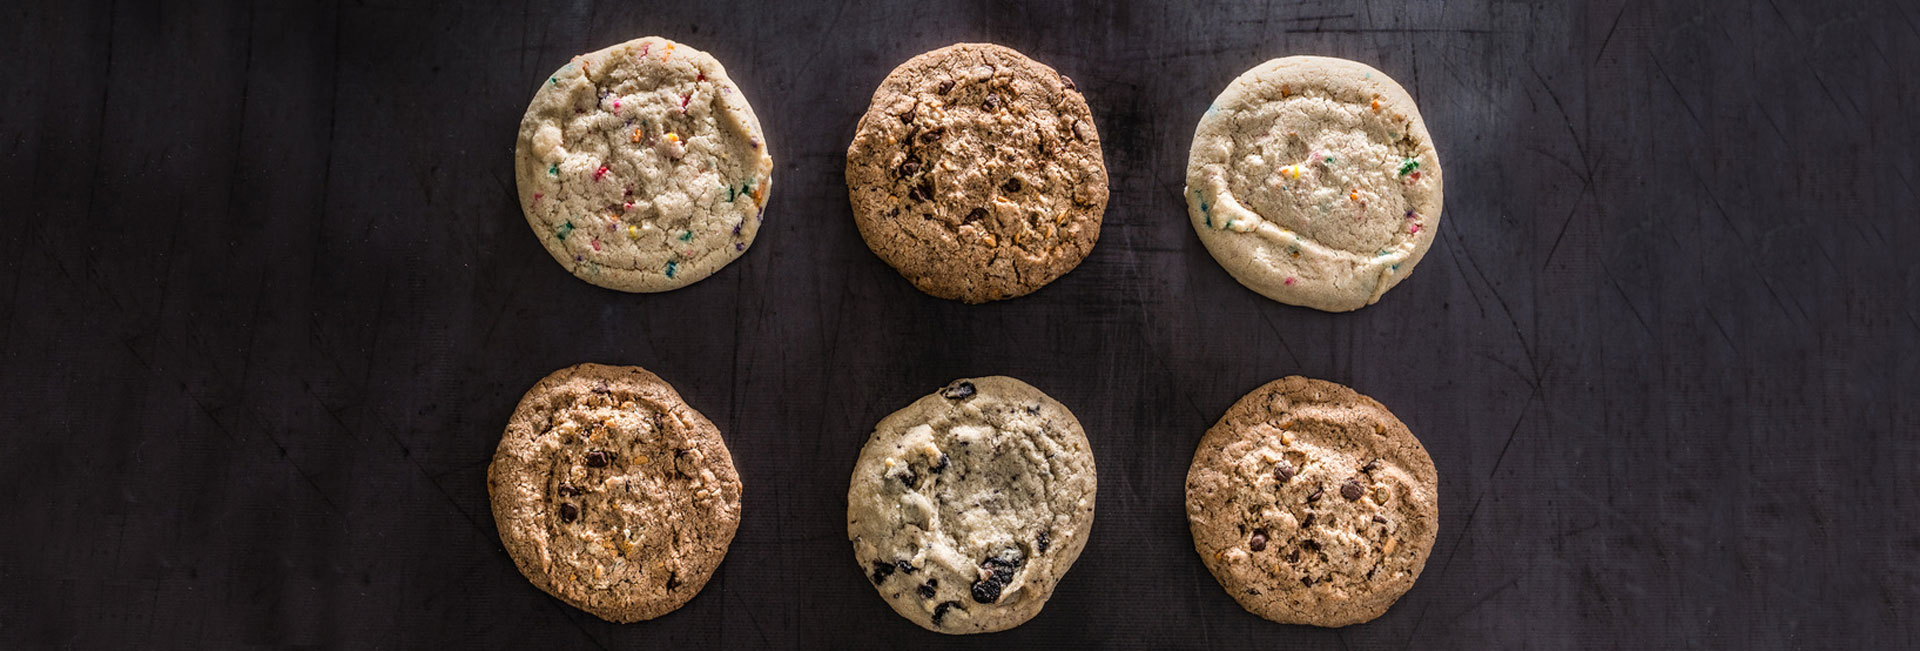
Confetti Cookies
A mouth-watering recipe by Milkbar’s pastry chef Christina Tosi
Christina Tosi’s creations are literally on everyone’s lips. Her unpretentious and outrageously tasty cookies, cakes and other treats from her Milkbar store became the talk of the town – from New York to New Zealand.
What does a childhood memory taste like? It’s definitely sweet. And it is mostly simple. When Christina Tosi, the famous New York-based pastry chef started making her delicious sweets, she had in mind to bring back reminiscences of her very first sweet treats. Children and adults in New York stand in line to get a bite of Tosi’s outstanding work that incorporates such astonishing flavours as cereal-milk, cornflake-marshmallow or confetti.
Her desserts and baked goods cater to our need for uncomplicated indulgence. They are fun, surprising and full of flavour. For a moment, we get to close our eyes, forget about our surroundings and be children again.
However, behind the seemingly simple and uncomplicated flavours are hours and hours spent in the kitchen trying repetitively to get to the perfect composition, Christina Tosi’s work is anything but simple. It is full of technique, wit and precision. With her confetti cookie recipe below, we gain an insight into her creative process and all the thought put into a lovely dessert to get it just right.

About the Recipe
"When we were in the Spanish Harlem rental kitchen for the summer of 2010, our cornflake-chocolate chip-marshmallow cookie just wouldn’t bake up right in the busted convection ovens we were forced to use. So, we stopped our crying, stopped making the cookie for a while, and took the opportunity to bring a new cookie into creation. The confetti cookie combines the technique of a snickerdoodle (cream of tartar makes all the difference in telling an average cookie apart from a snickerdoodle-inspired one) with the flavours of funfetti cake mix." – Christina Tosi
Recipe: Milk Confetti Cookie
Makes 10 to 15 cookies
Ingredients:
- 225 g butter, at room temperature (16 tablespoons or 2 sticks)
- 300 g sugar (1 1/2 cups)
- 50 g glucose (2 tablespoons)
- 2 eggs
- 8 g clear vanilla extract (2 teaspoons)
- 400 g flour (2 1/2 cups)
- 50 g milk powder (2/3 cup)
- 9 g cream of tartar (2 teaspoons)
- 6 g baking powder (1 teaspoon)
- 5 g kosher salt (1 1/4 teaspoons)
- 40 g rainbow sprinkles (1/4 cup)
- 1/2 recipe birthday cake crumb (s. below)
- Combine the butter, sugar, and glucose in the bowl of a stand mixer fitted with the paddle attachment and cream together on medium-high for 2 to 3 minutes. scrape down the sides of the bowl, add the eggs and vanilla and beat for 7 to 8 minutes.
- Reduce the mixer speed to low and add the flour, milk powder, cream of tartar, baking soda, salt, and rainbow sprinkles. Mix just until the dough comes together, no longer than 1 minute. (do not walk away during this step, or you will risk overmixing the dough.) scrape down the sides of the bowl with a spatula.
- Still on low speed, add the birthday cake crumbs and mix just until incorporated, about 30 seconds.
- Using a 2 3/4 ounces ice cream scoop (or a 1/3 cup measure), portion out the dough onto a parchmentlined sheet pan. Pat the tops of the cookie dough domes flat. Wrap the sheet pan tightly in plastic wrap and refrigerate for at least 1 hour, or up to 1 week. Do not bake your cookies from room temperature – they will not bake properly.
- Heat the oven to 375°F / 190° C
- Arrange the chilled dough a minimum of 4 inches apartment on parchment-or silpat- lined sheet pans. Bake for 18 minutes. the cookies will puff, crackle, and spread. After 18 minutes, they should be very lightly browned on the edges (golden brown on the bottom). The centres will show just the beginning signs of colour. Leave the cookies in the oven for an additional minute or so if the colours don’t match and the cookies still seem pale and doughy on the surface.
- Cool the cookies completely on the sheet pans before transferring to a plate or airtight container for storage. At room temp, the cookies will keep for 5 days; in the freezer, they will keep for 1 month.
As a base: Milk Birthday Cake Crumb
- 100 g granulated sugar (1/2 cup)
- 25 g light brown sugar (1 1/2 tablespoon, tightly packed)
- 90 g cake flour (3/4 cup)
- 2 g baking powder (1/2 teaspoon)
- 2 g kosher salt (1/2 teaspoon)
- 20 g rainbow sprinkles (2 tablespoons)
- 40 g grapeseed oil (1/4 cup)
- Clear vanilla extract (1 tablespoon)
- Heat the oven to 300°F / 150° C
- Combine the sugars, flour, baking powder, salt, and sprinkles in the bowl of a stand mixer fitted with the paddle attachment and mix on low speed until well combined.
- Add the oil and vanilla and paddle again to distribute. the wet ingredients will act as glue to help the dry ingredients form small clusters; continue paddling until that happens.
- Let the crumbs cool completely before using in a recipe or scarfing by the handful. Stored in an airtight container, the crumbs will keep fresh for 1 week at room temperature or 1 month in the fridge or freezer.
Extra Tip – Vanilla Extract:
Milkbar uses two different kinds of vanilla extract, brown Patisse brand and clear McCormick brand. Neither is of any fancy calibre, but we use these specific vanilla extracts on purpose because they are the flavour that most people relate to in their baked goods. Vanilla beans and fancy vanilla paste do not taste like home to me, but commercial vanilla extract does. We use brown (standard) vanilla extract in 90 percent of our baked goods. it’s the extract that flavours nearly every homemade chocolate chip cookie. We use clear McCormick vanilla extract for the birthday cake, birthday cake crumb, and birthday cake frosting. It is vanilla in flavour, but not flavoured by any actual vanilla beans. It’s “vanilla” in more of a guilty tub-of-frosting, box-cake way. The two are not interchangeable in recipes. Both Patisse brown extract and McCormick clear vanilla are available online.
Author: Franziska Winterling, recipe by Milkbar
Photos: © Cristopher Santos, Milkbar